Chevrolet Sonic Repair Manual: Transmission Fluid Level and Condition Check
- Removal Procedure
-
- Raise and support the vehicle. Refer to Lifting and Jacking the Vehicle
- Remove the front suspension skid plate, if equipped. Refer to Drivetrain and Front Suspension Frame Skid Plate Replacement
- Place a basin underneath the vehicle.
- Clean away all dirt and debris from the transmission case plug.
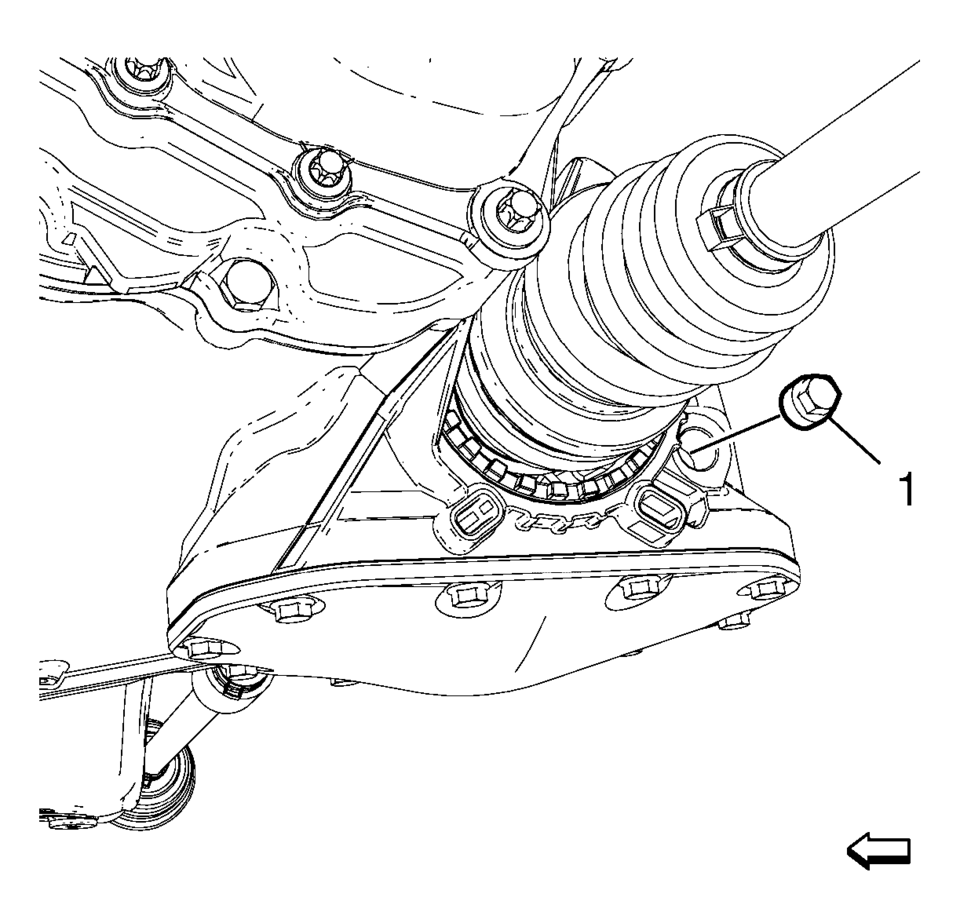
- Remove the transmission case plug (1). DISCARD the case plug.
- Add transmission fluid until it seeps out of the plug hole.
- Installation Procedure
-
- Install a NEW case plug (1) and tighten to 4Y
(35 lb in) plus 45-135 degrees
.
- Install the front suspension skid plate, if equipped. Refer to Drivetrain and Front Suspension Frame Skid Plate Replacement
- Lower the vehicle.
Caution:
Refer to Fastener Caution.
- Install a NEW case plug (1) and tighten to 4Y
(35 lb in) plus 45-135 degrees
 Transmission Fluid Drain and Fill
Draining Procedure
Note:
The fluid check bolt at the front of the transmission may not be
opened.
The transmission fluid drained out during the pre-delivery inspection
...
 Transmission Fluid Pump Assemble (6T30)
Table 1:
Fluid Pump w/Valve Trains Assemble
Table 2:
Torque Converter Fluid Seal and Fluid Filter Assembly
Assemble
Fluid Pump w/Valve Trains Assemble
...
Other materials:
Rear Seats
Folding the Seatback
Either side of the seatback can be folded down for more cargo space. Fold a seatback
only when the vehicle is not moving.
Caution
Folding a rear seat with the safety belts still fastened may cause damage to
the seat or the safety belts. Always unbuckle the safety belts an ...
Turn Signal Multifunction Switch Replacement
..
Turn Signal Multifunction Switch Replacement
Callout
Component Name
Preliminary Procedure
Remove the upper trim cover and the lower trim cover from the steering
column. Refer to Steering Column Lower Trim Cover Replacemen ...
Engine Oil Pressure Indicator Switch Replacement
Engine Oil Pressure Indicator Switch Replacement
Callout
Component Name
Preliminary Procedure
Remove the air conditioning compressor. Refer to Air Conditioning Compressor
Replacement.
1
Oil Pres ...

0.0055