Chevrolet Sonic Repair Manual: Crankshaft and Bearing Installation
Special Tools
EN-45059 Torque Angle Sensor Kit
For equivalent regional tools, refer to Special Tools
- Install the crankshaft bearing clips, oil bearing clips.
- Install the crankshaft.
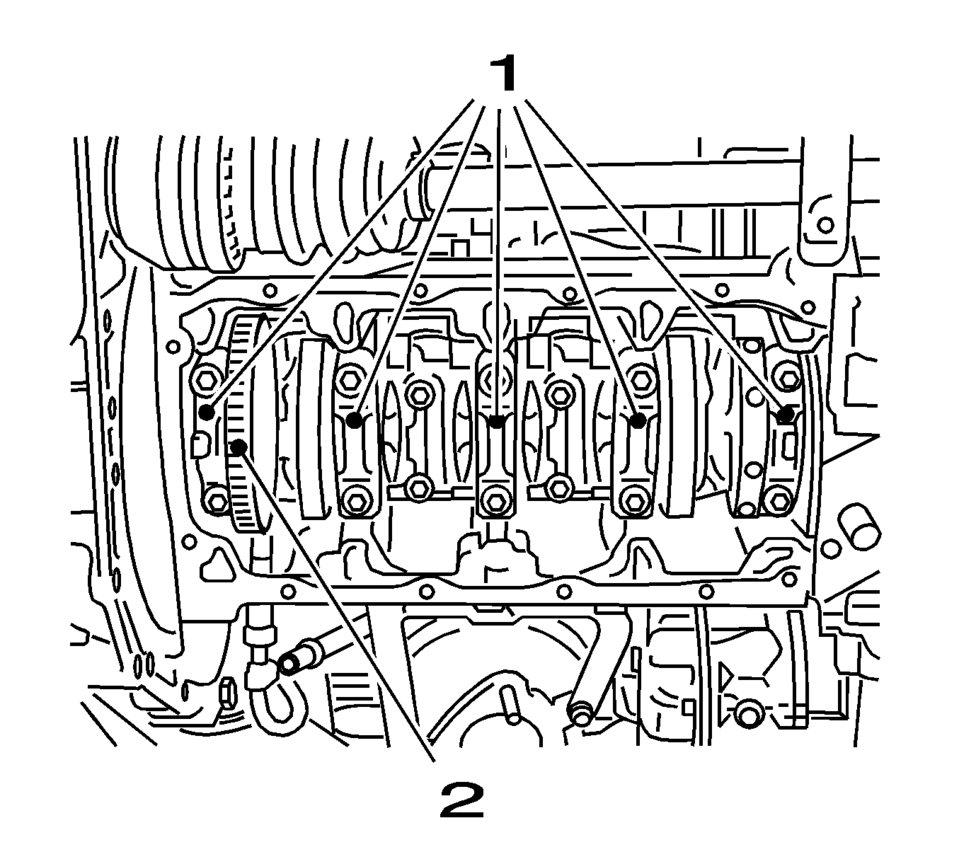
- Install the crankshaft bearing caps 1-4.
Note:
Inspect the installation position.
Note:
Inspect the installation position.
- Oil bearing clips.
- Install the 8 NEW crankshaft bearing cap bolts.
Note:
Inspect the installation position.
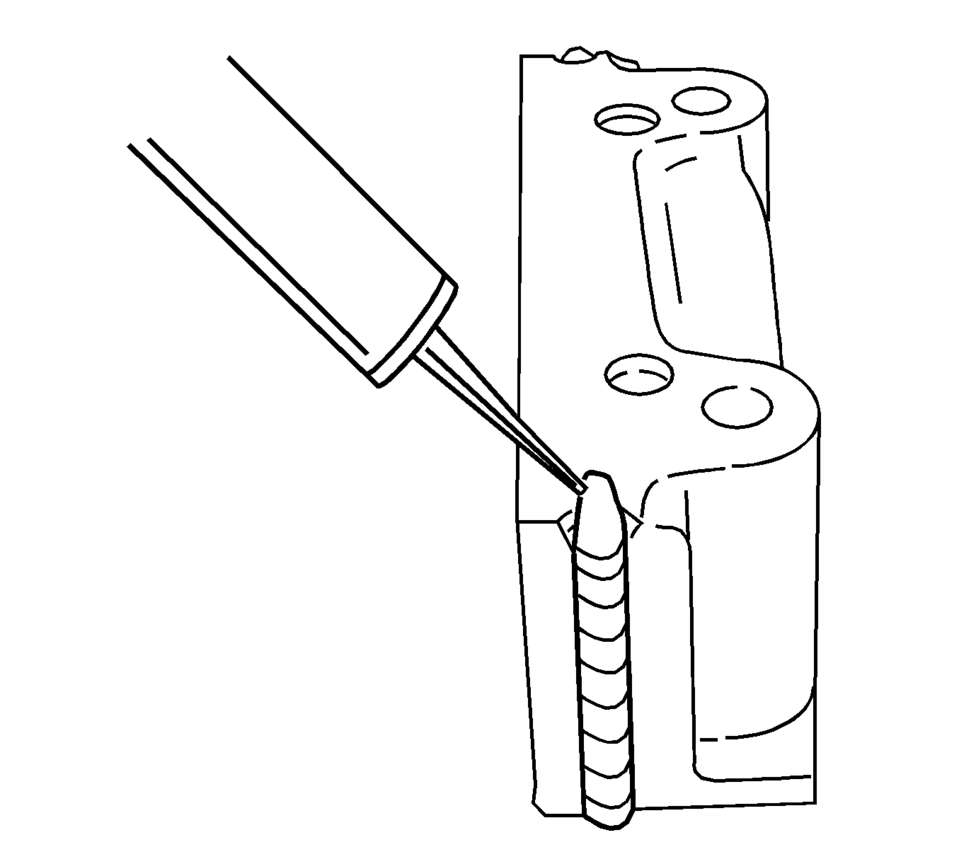
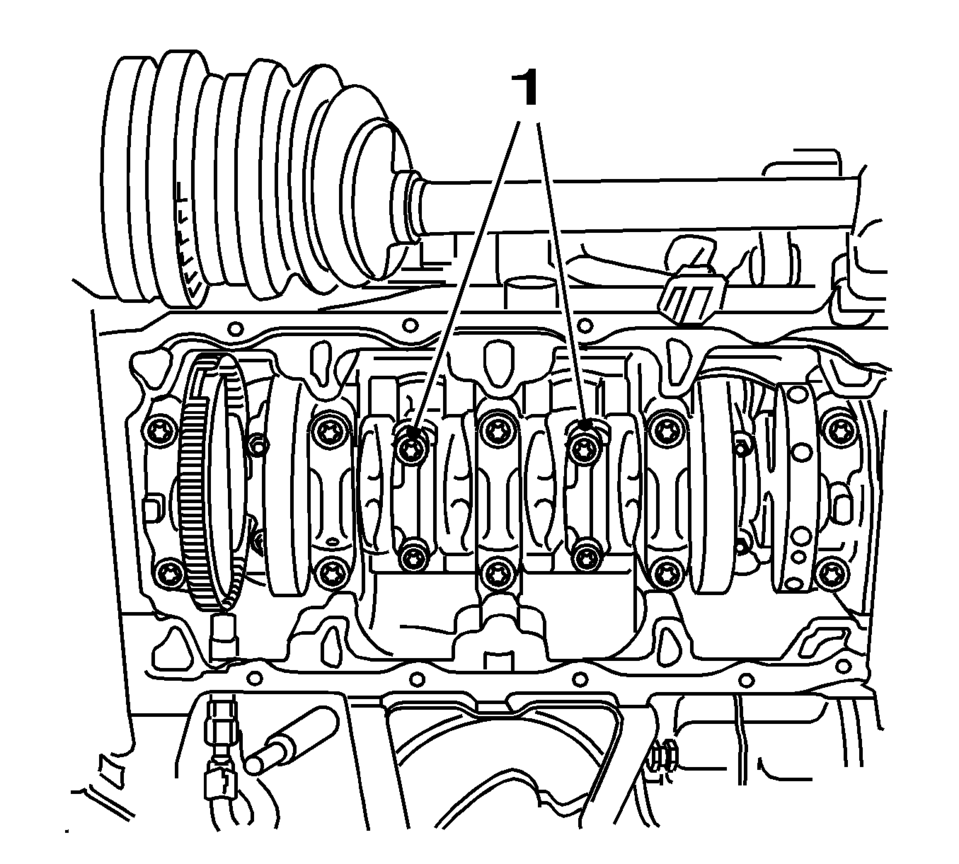
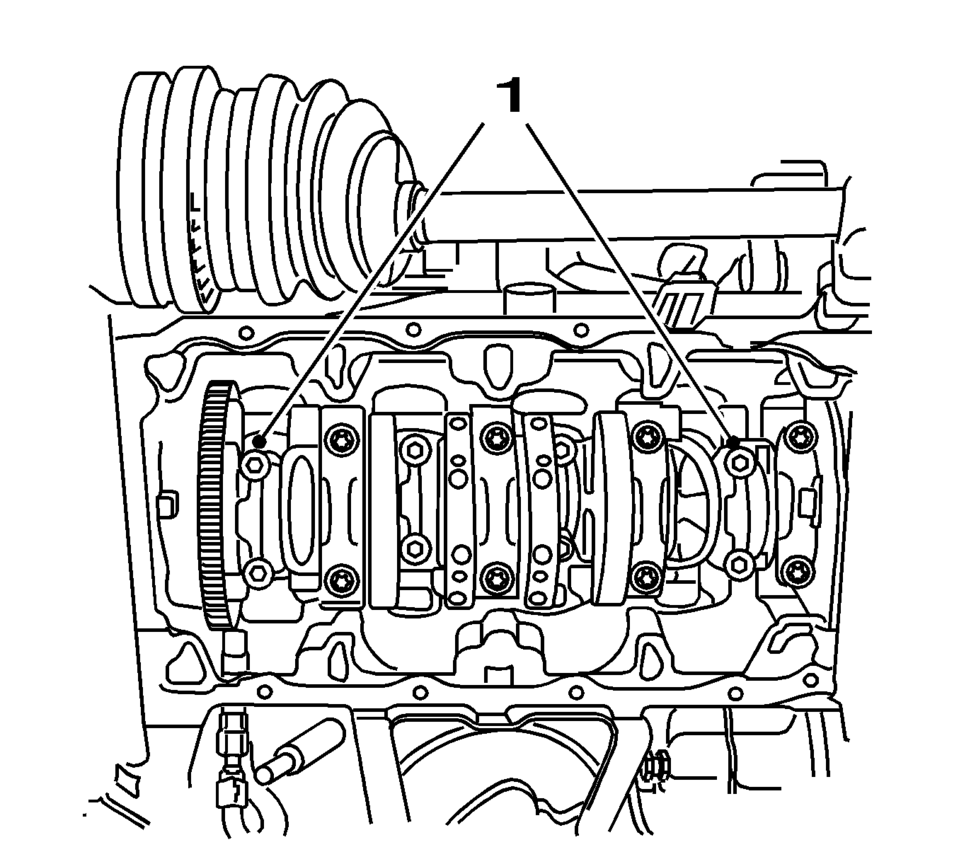
- Apply black adhesive sealing compound to the grooves of the rear crankshaft bearing cap.
- Install the 2 NEW crankshaft bearing cap bolts.
Caution:
Refer to Fastener Caution.
Caution:
Refer to Torque-to-Yield Fastener Caution.
- First pass to 50 Y (37 lb ft)
- Second pass to 45°
- Third pass to 15°
Note:
Inspect the installation position.
- First pass to 35 Y (26 lb ft)
- Second pass to 45°
- Third pass to 15°
.
Note:
Inspect the installation position.
- First pass to 35 Y (26 lb ft)
- Second pass to 45°
- Third pass to 15°
 Crankshaft and Bearing Cleaning and Inspection
Special Tools
EN-45059 Torque Angle Sensor Kit
GE-571-B Dial Gauge
For equivalent regional tools, refer to Special Tools.
Crankshaft End Play, Check
Note: Cranksha ...
 Crankshaft and Bearing Removal
Identify all the connecting rod bearing caps (1).
Remove the 4 bolts.
Remove the connecting rod bearing caps 1 and 4 (1).
Turn the crankshaft through 180 ...
Other materials:
Recreational Vehicle Towing
Recreational vehicle towing means towing the vehicle behind another vehicle,
such as a motor home. The two most common types of recreational vehicle towing are
known as dinghy towing and dolly towing. Dinghy towing is towing the vehicle with
all four wheels on the ground. Dolly towing is towin ...
Rear Seat Back Cushion Removal and Installation (40%)
Rear Seat Back Cushion Removal and Installation
Callout
Component Name
Preliminary Procedure
Remove the rear seat cushion. Refer to Rear Seat Cushion Removal
and Installation.
Remove the rear seat back cushion bolster. Re ...
Rear Disc Brake Mounting and Hardware Inspection
Warning: Refer to Brake Dust Warning.
Caution: Support the brake caliper with heavy mechanic wire, or
equivalent, whenever it is separated from its mount and the hydraulic flexible
brake hose is still connected. Failure to support the caliper in this manner
will cause the f ...

0.0061