Chevrolet Sonic Repair Manual: Crankshaft Rear Oil Seal Installation
Special Tools
- EN-658-1 Installer
- EN-235-6 Installer
For equivalent regional tools, refer to Special Tools.
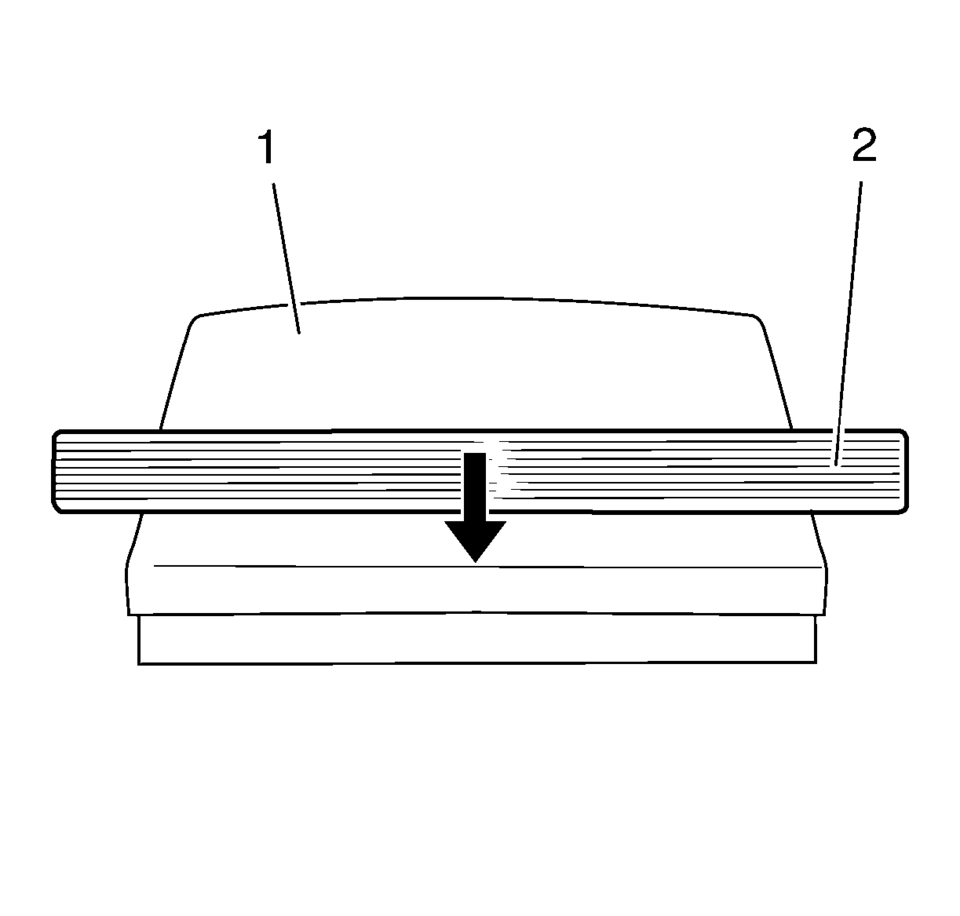
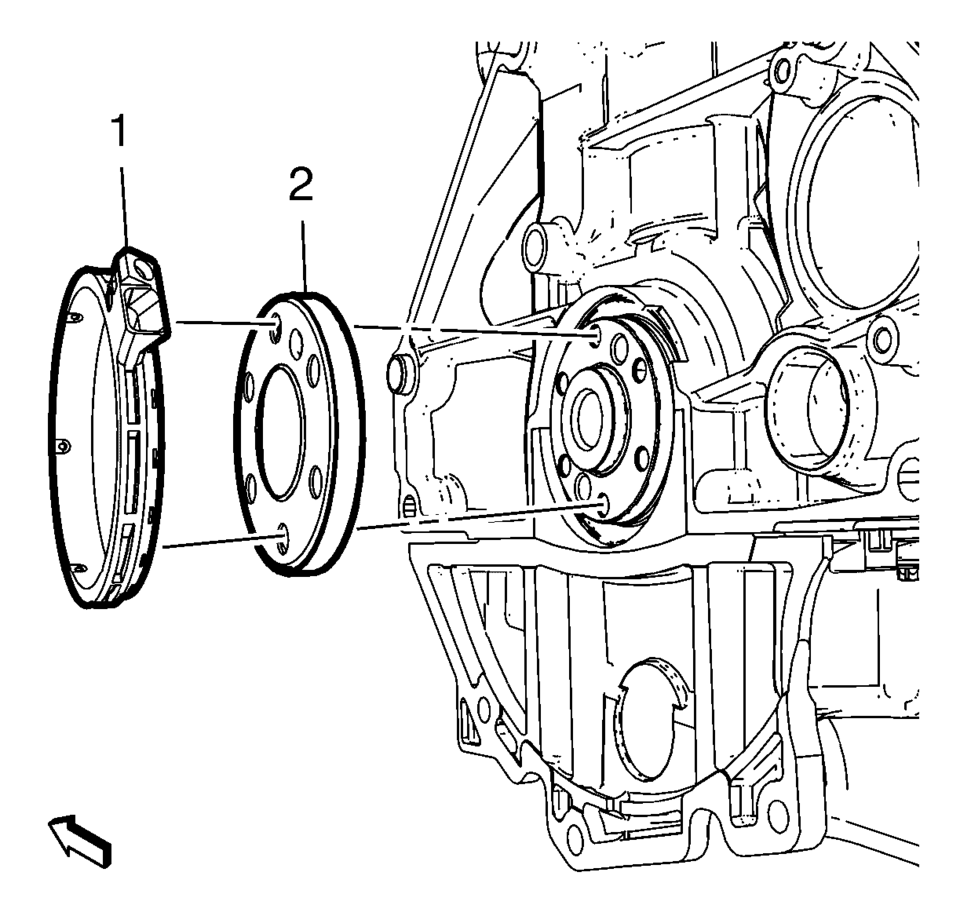
- Slide the crankshaft rear oil seal (2) across the EN-235-6 installer (1).
- Install the crankshaft rear oil seal (1) with EN-235-6 installer (2) to the crankshaft.
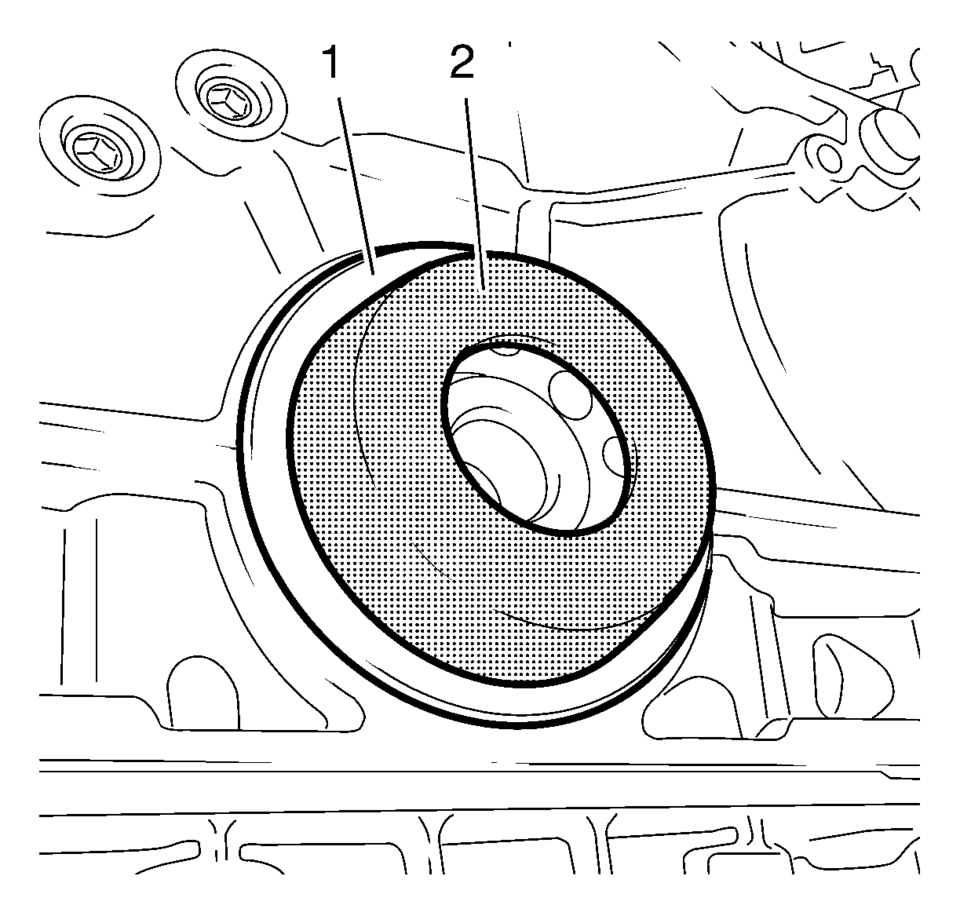
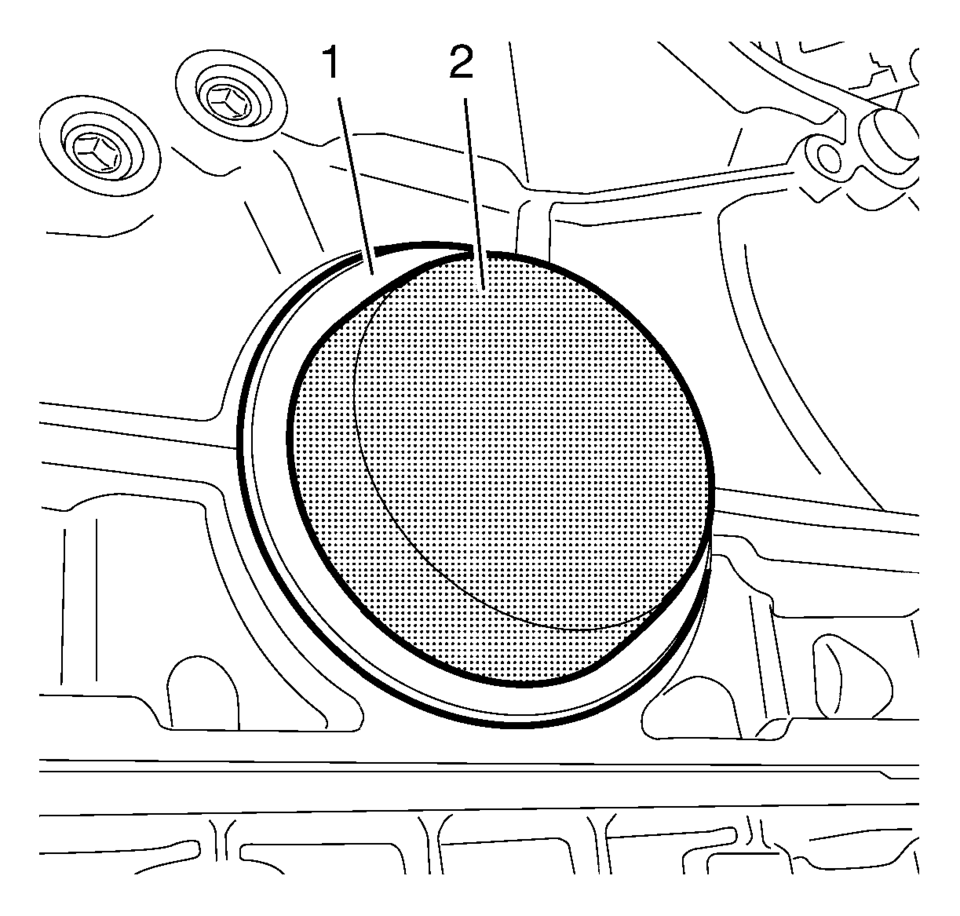
- Use EN-658-1 installer (2) to strike the crankshaft rear oil seal (1)
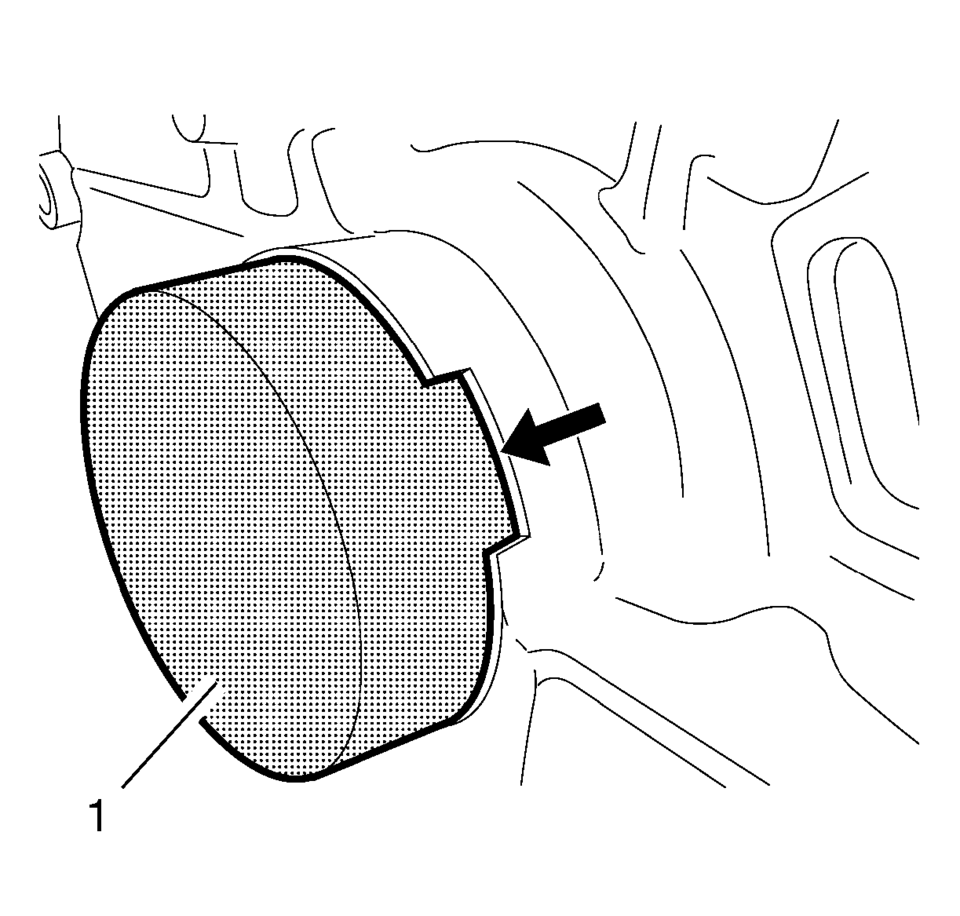
- Check the crankshaft rear oil seal for proper seat, the EN-658-1 installer must be flush with the cylinder block at the position (1).
- Install the reluctor ring (2).
- Install the crankshaft rear oil seal housing (1).
- Install the crankshaft position sensor (3) to the crankshaft rear oil seal housing (1).
- Install the crankshaft position sensor bolt (2) and tighten to 4.5 Y (40 lb in)
.

Caution:
Refer to Fastener Caution.
 Crankshaft Front Oil Seal Replacement
Special Tools
EN-960 Installer
EN-45000 Remover Oil seal
For equivalent regional tools, refer to Special Tools.
Removal Procedure
Remove the crankshaft balancer. Refer to Crank ...
 Crankshaft Rear Oil Seal Replacement
Special Tools
EN-658 Rear Main Seal Installer
For equivalent regional tools, refer to Special Tools.
Removal Procedure
If equipped with automatic transmission, remove the flex plate ...
Other materials:
Body Panel Paint Protector Replacement (VGC)
The paint protective film and vehicle surface temperature should be 13?€“32?°C
(55?€“90?°F) for best results.
Automatic car washes should be avoided for at least 24?€‰hours after the
paint protective film application.
Wipe the vehicle surface with isopropyl alcohol or fl ...
Camshaft Installation
Special Tools
EN-422 Installer
For equivalent regional tools, refer to Special Tools.
Note: Coat with MoS 2 lubricating paste. Refer to Adhesives, Fluids,
Lubricants, and Sealers.
Install the intake camshaft (1).
Note: Note the identification mark ...
Transmission Replacement
Removal Procedure
Remove the battery and battery tray. Refer to
Battery Tray Replacement.
Disconnect the transmission range selector lever cable
terminal (1) from the transmission manual pin.
Press the locking tab forward in order to release
the tran ...

0.0055