Chevrolet Sonic Repair Manual: Parking Brake Adjustment (Drum Brake)
Note:
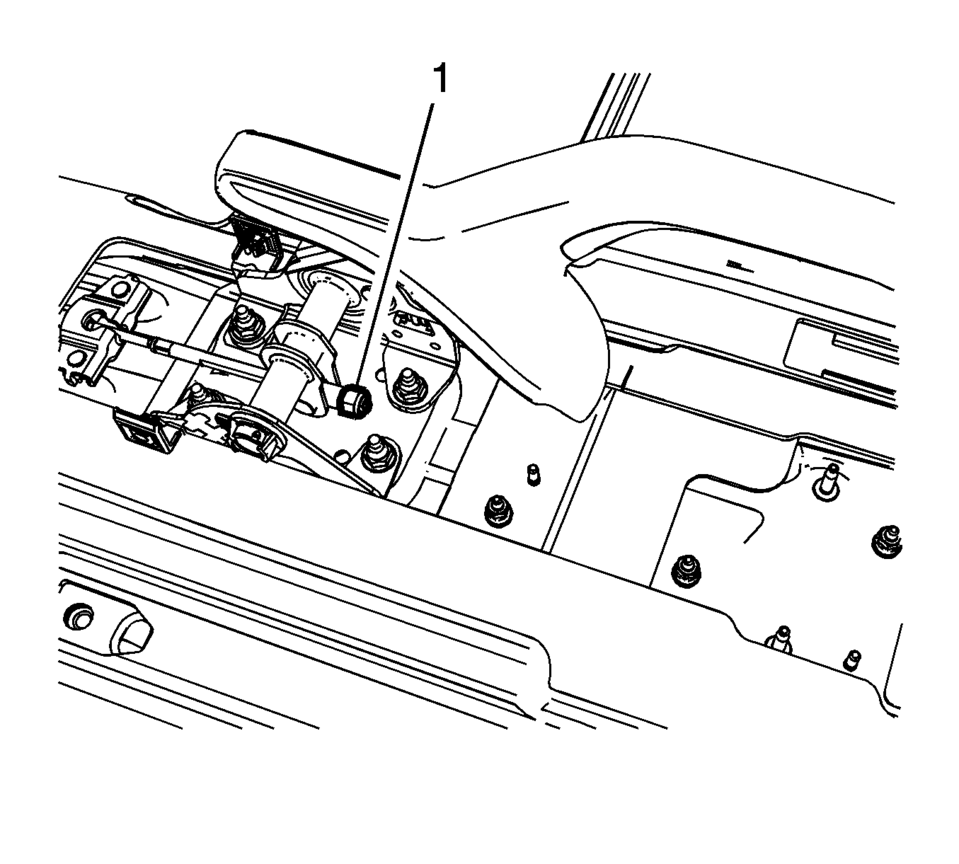
The park brake cable adjusting nut is a nylon lock type. Use ONLY HAND TOOLS whenever tightening or loosening the adjusting nut.
- Apply and fully release the park brake several times. Verify that the park brake lever releases completely.
- Turn ON the ignition. Verify the red BRAKE warning lamp is not illuminated.
- If the red BRAKE warning lamp is illuminated, verify the following:
- The park brake lever is in the fully released position and against the stop.
- There is no slack in the park brake cables.
- One of the brake drums should not rotate forward or rearward.
- The other brake drum should not rotate forward or rearward, or should require substantial effort to rotate.
 Parking Brake Adjustment (Disc Brake)
Note: The park brake cable adjusting nut is a nylon lock type. Use
ONLY HAND TOOLS whenever tightening or loosening the adjusting nut.
Apply and fully release the park brake several times ...
 Parking Brake Indicator Switch Replacement
Removal Procedure
Remove the front floor console. Refer to Front Floor Console Replacement.
Ensure that the park brake lever is in the fully released position.
Disconnect th ...
Other materials:
Emergency Trunk Release Handle
Caution
Do not use the emergency trunk release handle as a tie-down or anchor point
when securing items in the trunk as it could damage the handle.
There is a glow-in-the-dark emergency trunk release handle on the underside of
the trunk lid. This handle will glow following exposure to light. ...
Rear Wheel Speed Sensor Replacement
Removal Procedure
Warning: Refer to Brake Dust Warning.
Raise and support the vehicle. Refer to Lifting and Jacking the Vehicle.
Remove the tire and wheel assembly. Refer to Tire and Wheel Removal
and Installation.
Remove the rear wheel speed sensor ...
Manual HVAC Description and Operation
The air temperature and the air delivery description and operation are divided
into five areas:
HVAC Control Components
Air Speed
Air Delivery
Heating and A/C Operation
Recirculation Operation
HVAC Control Components
HVAC Control Assembly
The HVAC control assembly inter ...

0.007