
Chevrolet Sonic Repair Manual: Rear Compartment Lid Adjustment
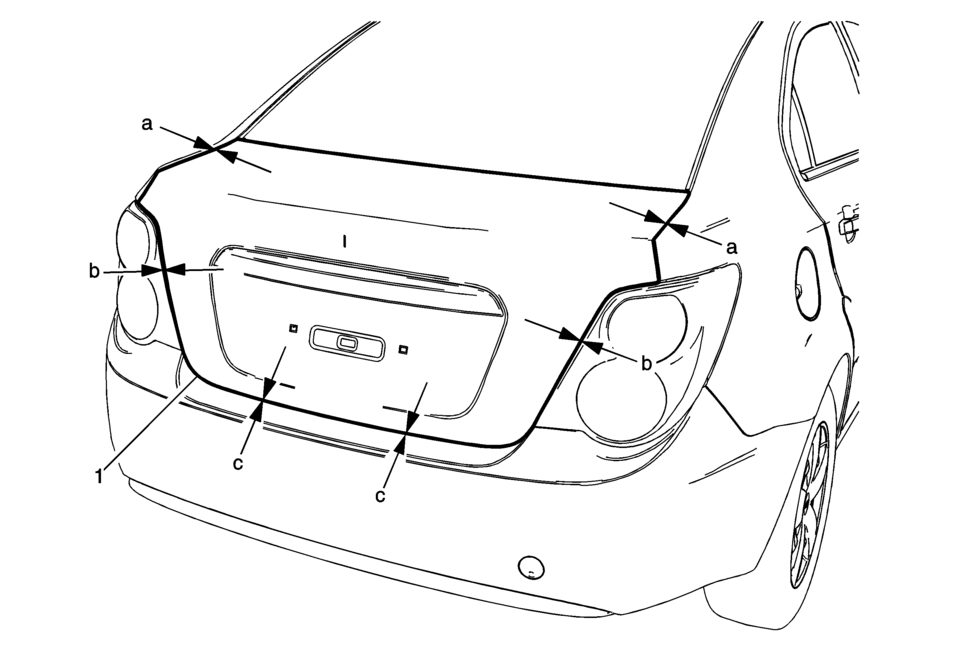
|
Callout |
Component Name |
|---|---|
|
1 |
Rear Compartment Lid Caution: Refer to Fastener Caution
22?€‰Y (16?€‰lb?€‰ft) |
 Radiator Grille Bumper Replacement
Radiator Grille Bumper Replacement
Callout
Component Name
Preliminary Procedure
Remove the front bumper fascia. Refer to Front ...
 Rear Compartment Lid Hinge Torque Rod Replacement
Rear Compartment Lid Hinge Torque Rod Replacement
Callout
Component Name
Warning: Refer to Hood Hold-Open Device Warning.
...
Other materials:
Window Lockout
This feature prevents the rear passenger windows from operating, except from
the driver position.
Press to disable the rear window
switches.
Press again to return to normal
window operation. ...
Antilock Brake System Automated Bleed
Warning: Refer to Brake Fluid Irritant Warning.
Caution: Refer to Brake Fluid Effects on Paint and Electrical Components
Caution.
Note: Before performing the Antilock Brake System (ABS) Automated
Bleed Procedure, first perform a pressure bleed of the base brake system. Refer
...
Warning & Indicator Lights
Warning/indicator lights (red)
Warning/indicator lights (yellow)
Warning/indicator lights (other)
( white )
(
green )
Checking lights
In the Nissan Armada, the warning and indicator light system is designed to immediately
inform the driver about the vehicle’s condition, ...

0.005