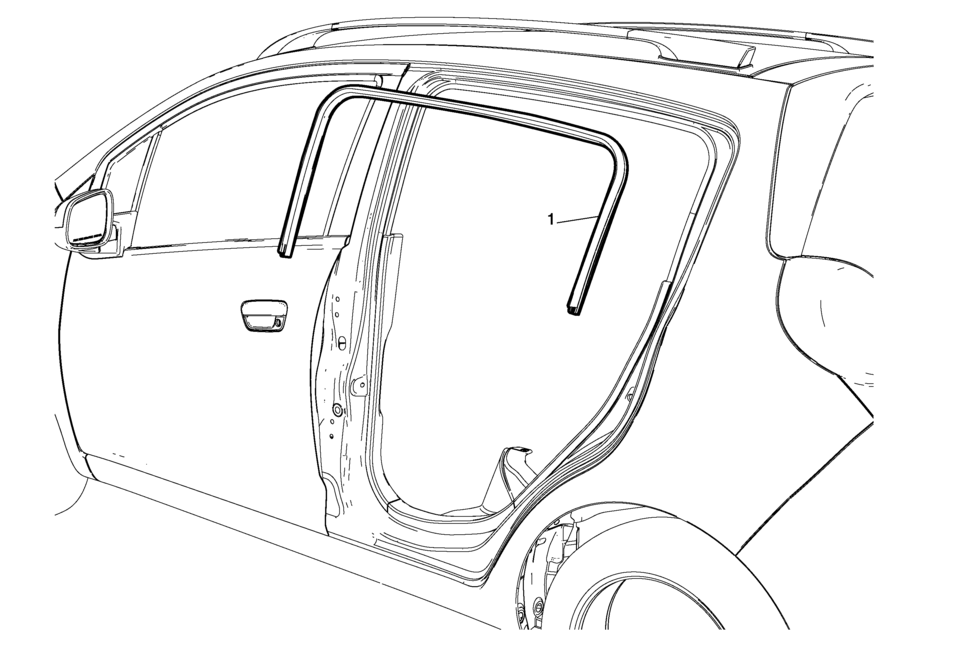
Chevrolet Sonic Repair Manual: Rear Side Door Weatherstrip Replacement - Body Side
|
Callout |
Component Name |
|---|---|
Preliminary Procedures
|
|
|
1 |
Rear Side Door Weatherstrip Body Side Procedure
|
 Rear Side Door Upper Hinge and Lower Hinge Replacement
Rear Side Door Upper Hinge and Lower Hinge Replacement
Callout
Component Name
1
Rear Side Door Upper Hinge to Body Bolts ...
 Rear Side Door Weatherstrip Replacement - Door Side
Rear Side Door Weatherstrip Replacement - Door Side
Callout
Component Name
1
Rear Side Door Weatherstrip
Procedure
...
Other materials:
Rear Bumper Fascia Tow Eye Access Hole Cover Replacement
Rear Bumper Fascia Tow Eye Access Hole Cover Replacement
Callout
Component Name
1
Rear Bumper Fascia Rear Tow Eye Access Hole Cover
Procedure
Using a small flat-bladed tool, release the cover from the rear
bu ...
Sunroof Window Height and Opening Fit Adjustment
Note: Correct adjustment cannot be achieved if the sunroof window
is closed from vent position.
Cycle the sunroof window from full open to closed position.
.,
Note: Do Not remove or lower headliner to access sunroof window
screws.
Loosen the adjusting screws on ...
Transmission Component and System Description
The mechanical components of the 6T30/40/45/50 are as follows:
A torque converter with an electronically controlled capacity clutch (ECCC)
Gear-type fluid pump assembly
1??? and low and reverse clutch housing assembly
4?? and 3? reverse clutch housing assembly
2? clutch assem ...

0.007