
Chevrolet Sonic Repair Manual: Rear Side Door Window Weatherstrip Replacement (Hatchback)
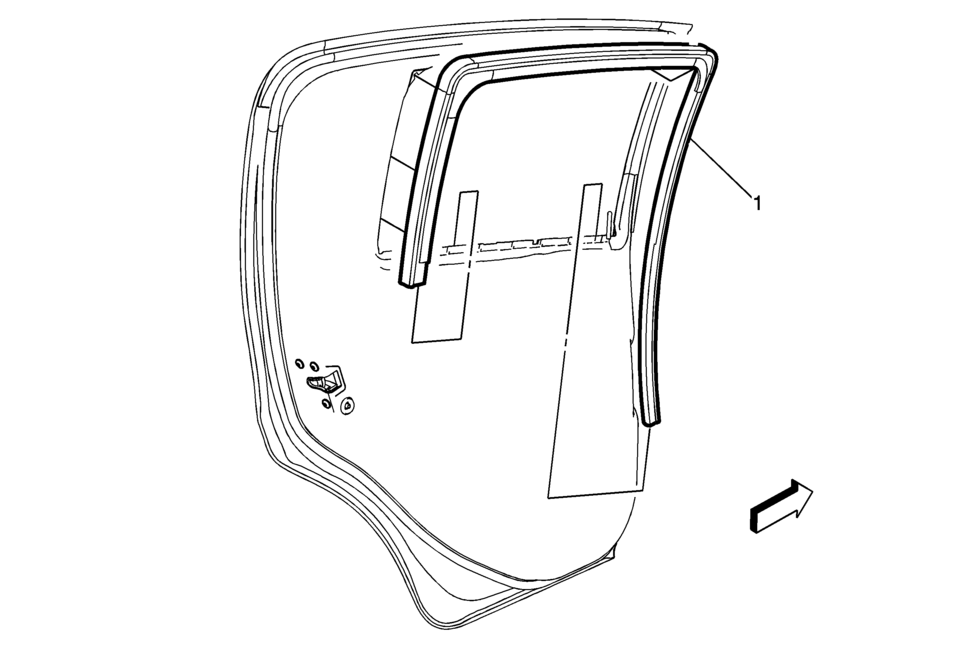
|
Callout |
Component Name |
|---|---|
|
Preliminary Procedure
Remove the rear side door window . Refer to Rear Side Door Window Replacement. |
|
|
1 |
Rear Side Door Window Weatherstrip Procedure
|
 Rear Side Door Window Replacement (Sedan)
Rear Side Door Window Replacement
Callout
Component Name
Warning: Refer to Glass and Sheet Metal Handling Warning.
...
 Rear Side Door Window Weatherstrip Replacement (Sedan)
Rear Side Door Window Weatherstrip Replacement
Callout
Component Name
Preliminary Procedures
The rear door side window weatherstrip ...
Other materials:
Audible Warnings Description and Operation
The audible warnings alert the driver of a system concern or a critical vehicle
condition. The radio generates the audible warnings through the speakers. The radio
receives audible warning requests via the serial data circuit. If the radio receives
multiple audible warning requests, the warnin ...
Throttle Body Heater Outlet Pipe Replacement (LUW)
Throttle Body Heater Outlet Pipe Replacement
Callout
Component Name
Preliminary Procedure
Drain the cooling system. Refer to Cooling System Draining and Filling.
1
Engine Coolant Air Bleed Hose
...
Exhaust Manifold Heat Shield Replacement (LUW)
Catalytic Converter Heat Shield Replacement
Callout
Component Name
Warning: Refer to Exhaust Service Warning.
Preliminary Procedures
Disconnect the negative battery cable. Refer to Battery Negative
Cable Disco ...

0.009