Chevrolet Sonic Repair Manual: Spark Plug Inspection
- Spark Plug Usage
-
- Ensure that the correct spark plug is installed. An incorrect spark plug causes driveability conditions.
- Ensure that the spark plug has the correct heat range. An incorrect heat range causes the following conditions:
- Spark plug fouling—Colder plug
- Pre-ignition causing spark plug and/or engine damage—Hotter plug
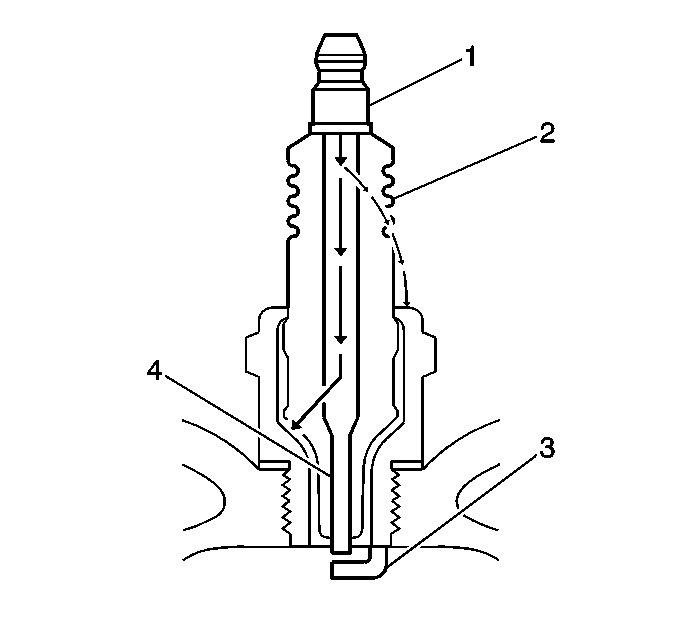
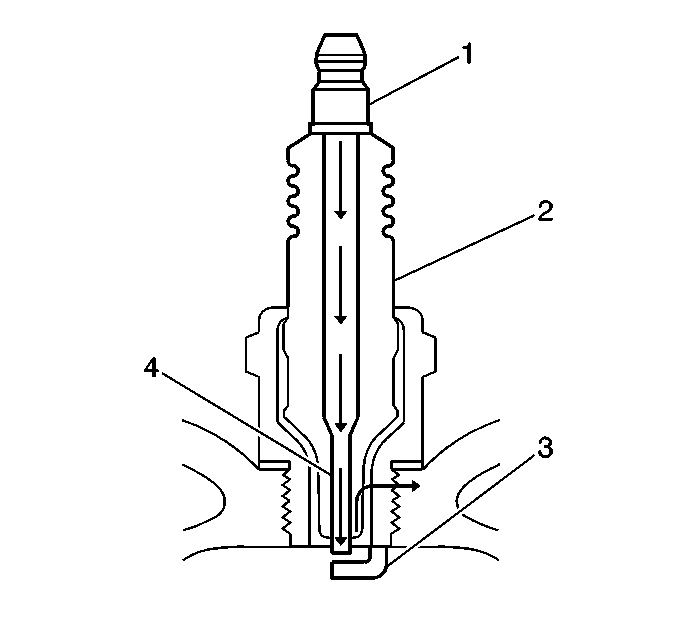
- Spark Plug Inspection
-
- Inspect the terminal post (1) for damage.
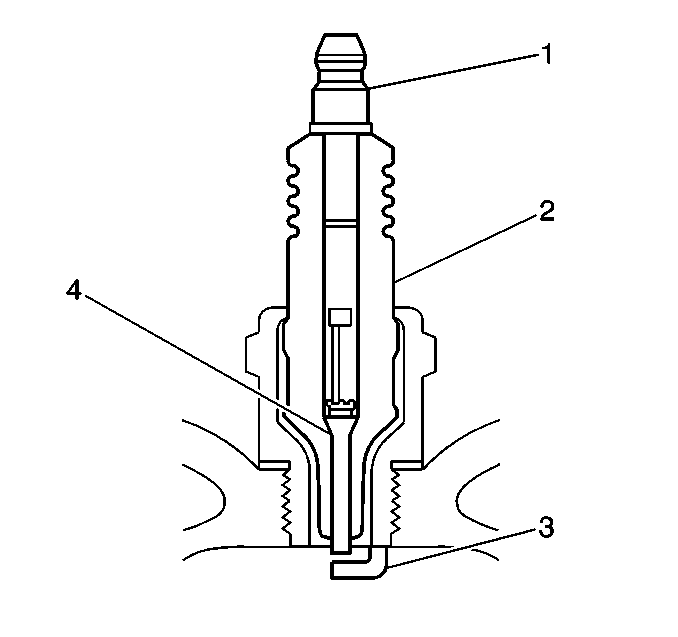
- Inspect for a bent or broken terminal post (1).
- Test for a loose terminal post (1) by twisting and pulling the post. The terminal post (1) should NOT move.

- Inspect the insulator (2) for flashover or carbon tracking, soot. This is caused by the electrical charge traveling across the insulator (2) between the terminal post (1) and ground. Inspect for the following conditions:
- Inspect the spark plug boot for damage.
- Inspect the spark plug recess area of the cylinder head for moisture, such as oil, coolant, or water. A spark plug boot that is saturated causes arcing to ground.
- Inspect the insulator (2) for cracks. All or part of the electrical charge may arc through the crack instead of the electrodes (3, 4).
- Inspect for evidence of improper arcing.
- Measure the gap between the center electrode (4) and the side electrode (3) terminals. An excessively wide electrode gap can prevent correct spark plug operation.
- Inspect for the correct spark plug torque. Insufficient torque can prevent correct spark plug operation. An over torqued spark plug, causes the insulator (2) to crack.
- Inspect for signs of tracking that occurred near the insulator tip instead of the center electrode (4).
- Inspect for a broken or worn side electrode (3).
- Inspect for a broken, worn, or loose center electrode (4) by shaking the spark plug.
- A rattling sound indicates internal damage.
- A loose center electrode (4) reduces the spark intensity.
- Inspect for bridged electrodes (3, 4). Deposits on the electrodes (3, 4) reduce or eliminates the gap.
- Inspect for worn or missing platinum pads on the electrodes (3, 4) If equipped.
- Inspect for excessive fouling.
- Inspect the spark plug recess area of the cylinder head for debris. Dirty or damaged threads can cause the spark plug not to seat correctly during installation.
- Spark Plug Visual Inspection
-
- Normal operation—Brown to grayish-tan with small amounts of white powdery deposits are normal combustion by-products from fuels with additives.
- Carbon Fouled—Dry, fluffy black carbon, or soot caused by the following conditions:
- Rich fuel mixtures
- Leaking fuel injectors
- Excessive fuel pressure
- Restricted air filter element
- Incorrect combustion
- Reduced ignition system voltage output
- Weak coils
- Worn ignition wires
- Incorrect spark plug gap
- Excessive idling or slow speeds under light loads can keep spark plug temperatures so low that normal combustion deposits may not burn off.
- Deposit Fouling—Oil, coolant, or additives that include substances such as silicone, very white coating, reduces the spark intensity. Most powdery deposits will not effect spark intensity unless they form into a glazing over the electrode.
 Ignition Coil Replacement
Special Tools
EN-6009 Remover and Installer Ignition Coil
For equivalent regional tools, refer to Special Tools.
Removal Procedure
Remove the engine wiring harness guideR ...
 Spark Plug Replacement
Spark Plug Replacement
Callout
Component Name
Preliminary Procedure
Open the hood.
Remove the engine sight shield.
Remove t ...
Other materials:
Luggage Carrier Package Installation
Installation Instructions Part Number
95950259
Kit Contents
95950259
Procedure
frontfrontlefthandrlghthandrearr_earlefthandrlghthand
axlgbsnm(44b.in.)
2000km1000kmkm
...
Rear Side Door Window Replacement (Sedan)
Rear Side Door Window Replacement
Callout
Component Name
Warning: Refer to Glass and Sheet Metal Handling Warning.
Preliminary Procedures
Remove the rear side door trim panel. Refer to Rear Side Door Trim
...
Engine Coolant Fan Shroud Replacement (LUV)
Engine Coolant Fan Shroud Replacement
Callout
Component Name
Preliminary Procedures
Drain the engine coolant. Refer to Cooling System Draining and Filling.
Remove the radiator surge tank. Refer to
Remove the radiator s ...

0.0083