
Chevrolet Sonic Repair Manual: Brake Drum Replacement (J93, J94)
Special Tools
- CH-41013 Rotor Resurfacing Kit
- CH-42450-A Wheel Hub Resurfacing Kit
For equivalent regional tools, refer to Special Tools.
- Removal Procedure
-
- Release the park brake.
- Raise and support the vehicle. Refer to Lifting and Jacking the Vehicle.
- Remove the tire and wheel assembly. Refer to Tire and Wheel Removal and Installation.
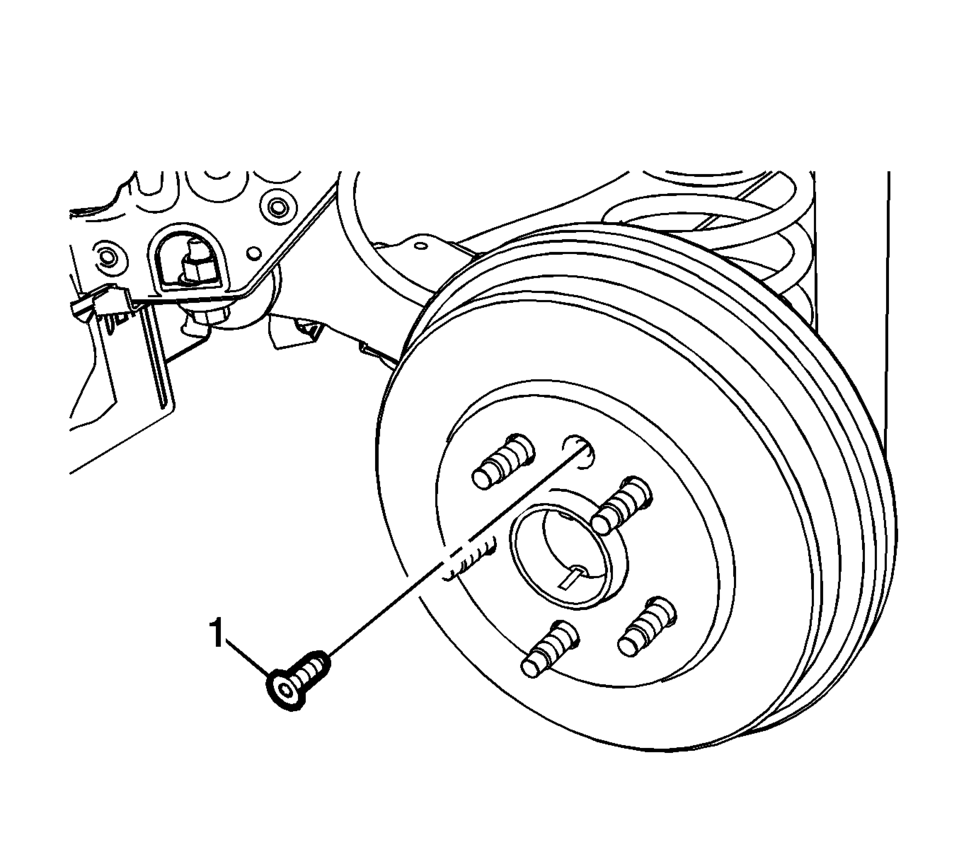
- Remove the brake drum bolt (1).
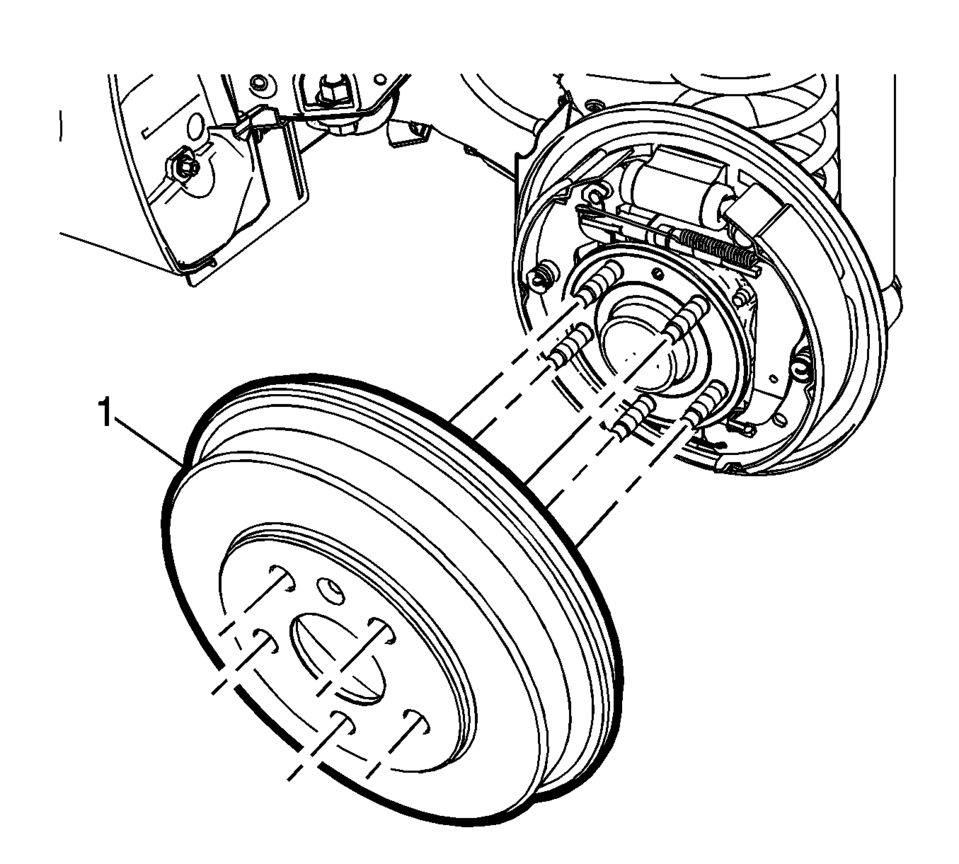
- Remove the brake drum (1).
- If reinstalling the brake drum, use the CH-41013 Rotor Resurfacing Kit to clean the wheel hub flange mating surface of the brake drum of any corrosion.
Warning:
Refer to Brake Dust Warning.
- Installation Procedure
-
- Using the CH-42450-A Wheel Hub Resurfacing Kit to clean the wheel hub flange of any corrosion.
- Adjust the drum brakes. Refer to Drum Brake Adjustment.
- Install the brake drum (1).
- Install the brake drum screw (1) and tighten to 9 Y (80 lb in)
.
- Install the tire and wheel assembly. Refer to Tire and Wheel Removal and Installation.
- Apply the brakes 2 or 3 times to seat and center the brake shoes on the brake drum.
Caution:
Refer to Fastener Caution.
 Brake Drum Refinishing
Special Tools
CH-41013 Rotor Resurfacing Kit
CH-42450-A Wheel Hub Resurfacing Kit
For equivalent regional tools, refer to Special Tools.
Warning: Refer to Brake Dust Warning.
T ...
 Brake Drum Surface and Wear Inspection
Special Tools
CH-8001 Dial Indicator Set
For equivalent regional tools, refer to Special Tools.
Warning: Refer to Brake Dust Warning.
With the brake drum removed, clean the brake sh ...
Other materials:
Center Pillar Reinforcement Replacement
Removal Procedure
Warning: Refer to Approved Equipment for Collision Repair
Warning.
Warning: Refer to Glass and Sheet Metal Handling Warning.
Note: The center pillar upper stiffener is made of Dual Phase
Steel and should be replaced only at ...
Front Wheel Bearing and Hub Replacement
Special Tools
CH-50559 Wheel Hub/Bearing Remover Kit
For equivalent regional tools, refer to Special Tools.
Removal Procedure
Raise and support the vehicle. Refer to Lifting and Jacking the Vehicle.
Remove the steering knuckle assembly from the vehicle. Refer to Steering
...
Strut Assembly Removal and Installation
Special Tools
CH 49375 Strut Rod Nut Socket
For equivalent regional tools, refer to Special Tools
Removal Procedure
Remove the air inlet grille panel. Refer to Air Inlet Grille Panel Replacement.
Raise and support the vehicle. Refer to Lifting and Jacking the Vehicle. ...

0.0066