Chevrolet Sonic Repair Manual: Synchronizers Cleaning and Inspection
- Clean all the synchronizer parts in a suitable cleaning solvent and air dry all the parts.
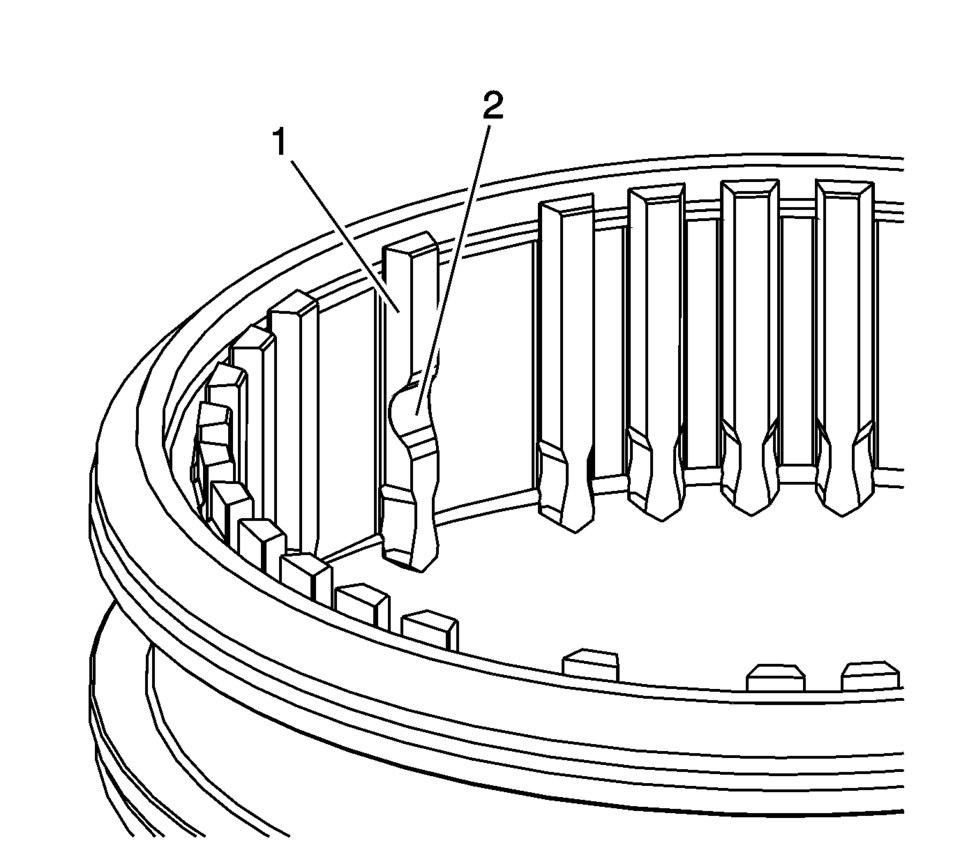
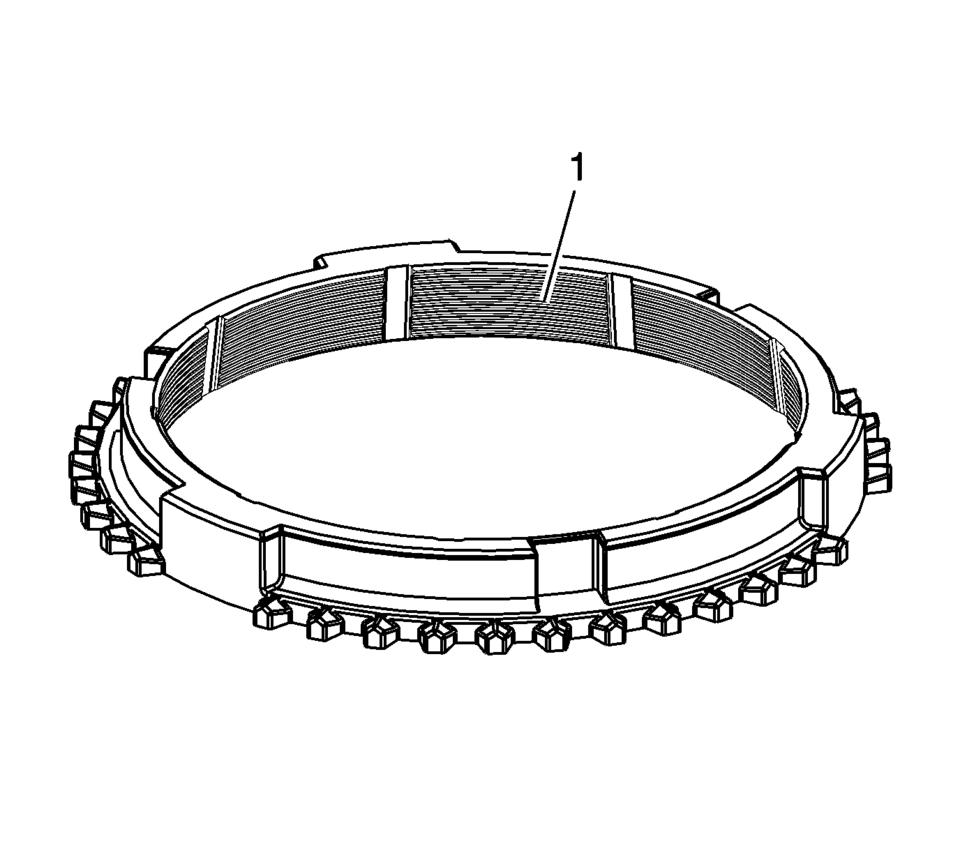
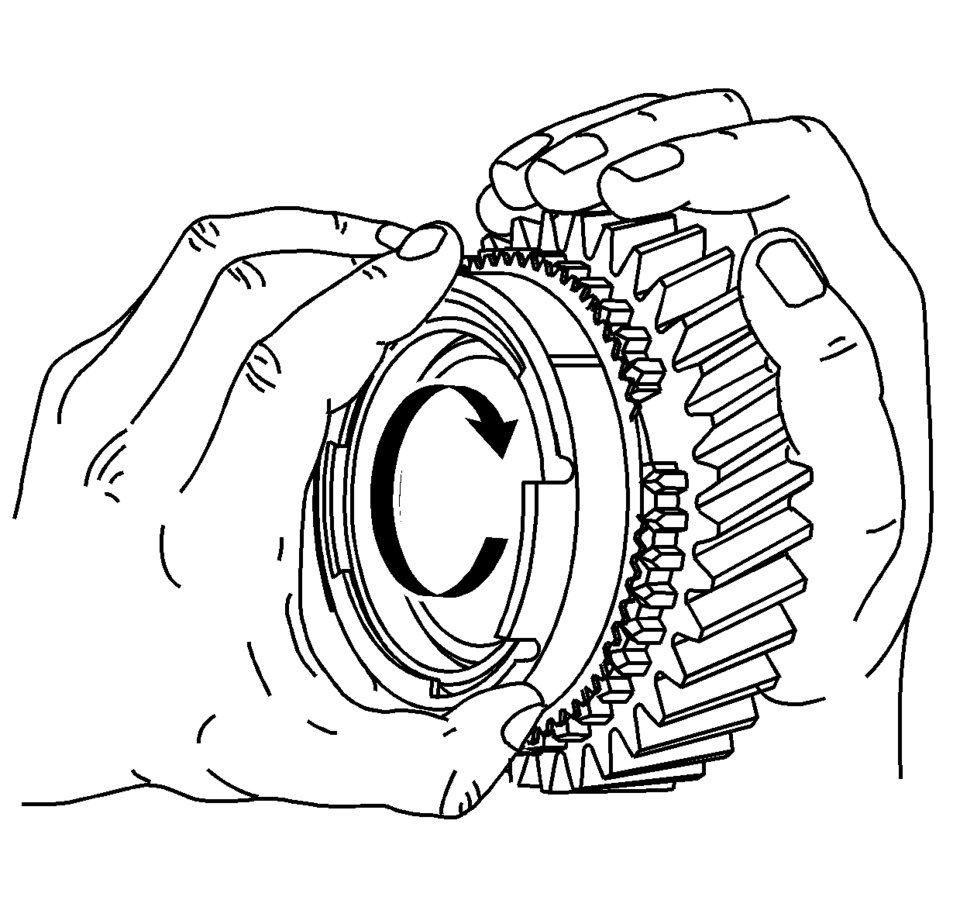
- Inspect the 1st/2nd gear, 3rd/4th gear, and 5th gear synchronizer hubs for a force fit on the main shaft.
- Replace synchronizer hubs that do not require a force fit.
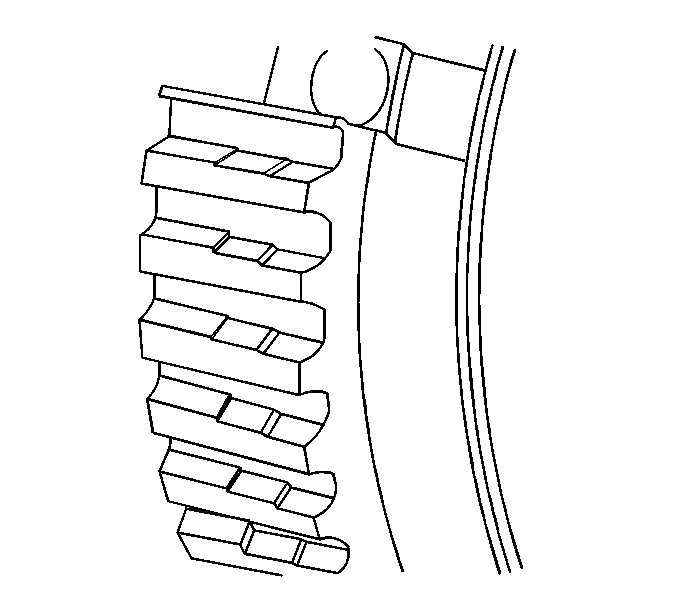
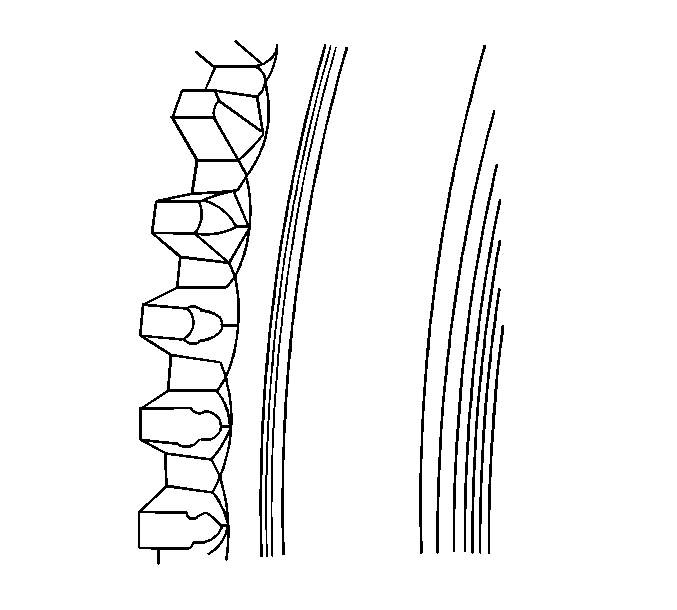
- Inspect the synchronizer hubs for wear on the external splines. A stepped effect on the teeth, due to wear, may cause shift concerns.
- Replace a worn hub.
- Correct the cause, such as, but not limited to the following conditions:
Note:
When servicing the synchronizers, retain them in the order that they are removed. Mark the parts to ensure the correct position for inspection and assembly.
- Engine related vibrations
- Driving at a low speed in a high gear
- Defective vibration damper or crankshaft
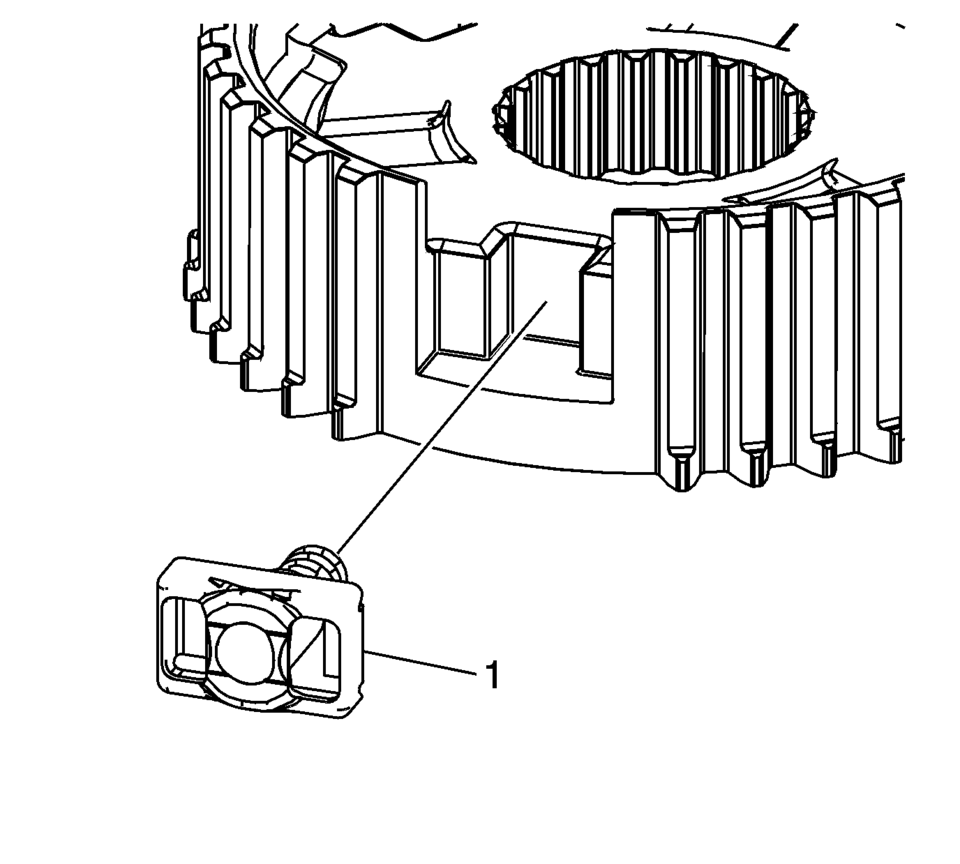
- Grated teeth
- Chipped off teeth
- Blunted teeth
 Synchronizers Assemble
1st/2nd Gear Synchronizer
iv
Note: When servicing the synchronizers, retain them in the
same order that they are removed. Keep the synchronizer components together
...
 Synchronizers Disassemble
1st/2nd Gear Synchronizer
iv
Note: When servicing the synchronizers, retain them in the
same order that they are removed. Keep the synchronizer components together
...
Other materials:
Door Lock and Ignition Lock Folding and Non-Folding Key Cutting
High Security keys are available from the service parts system.
Obtain the key code from the security card or from the GM Dealer World, Parts,
Key Code Look Up system.
If you have the key code and access to a Triax-E., BD Laser or other code key
cutting machine from the GM Dealer Equipment C ...
Engine Replacement (Automatic Transmission)
Special Tools
J-45859 Wheel Drive Shaft Remover
CH-807 Closure Plugs
For equivalent regional tools, refer to Special Tools.
Removal Procedure
Remove the battery and battery tray. Refer to Battery Tray Replacement.
Relieve the fuel system pressure. Refer to Fuel Pressur ...
Transmission Assemble (Gen 1)
Special Tools
3-9506289 Universal Adapter
R-0007758 Holding Fixture
S-9407197 Differential Rotating Tool
S-9407198 Differential Bearing Race Wrench
For equivalent regional tools, refer to Special Tools.
Install the clutch and differential housing assembly (1)
onto ...

0.0062